
After separating quail egg yolks, duck eggs feel like a breeze. They are big and feel so sturdy. The fail rate with quail eggs was so high, every time, they are delicate. With duck eggs, we haven’t had the same struggles, what a relief! The process of fully separating the yolk is very similar to quail and goes something like this:
First, we set up our sink area, moving everything away, cleaning every surface, and having four bowls ready for our process. Two bowls have egg separators, and two are for separated yolks.
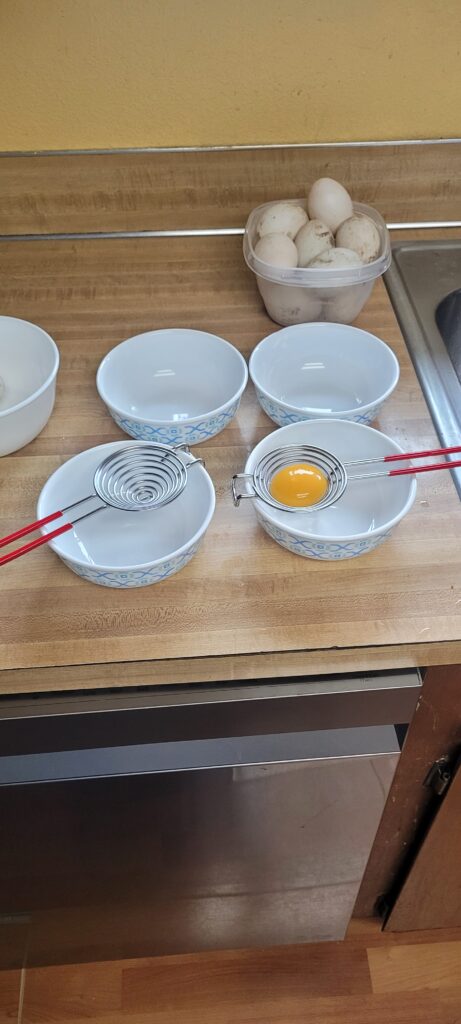
We crack the egg and set it in the egg separator, pulling the white off if we can. Then, we hold the yolk in our hand and transfer it back and forth, until there is no white left at all, just the thin membrane around the yolk.
Then we very gently rinse it in warm water and place it in a bowl. While I move on to the next egg, Adam uses a syringe to suck out all the yolk from the protective sack. He then puts it in a separate bowl for later. We do this over and over again, until we’ve done every egg (we do anywhere from 12-24 eggs at a time).
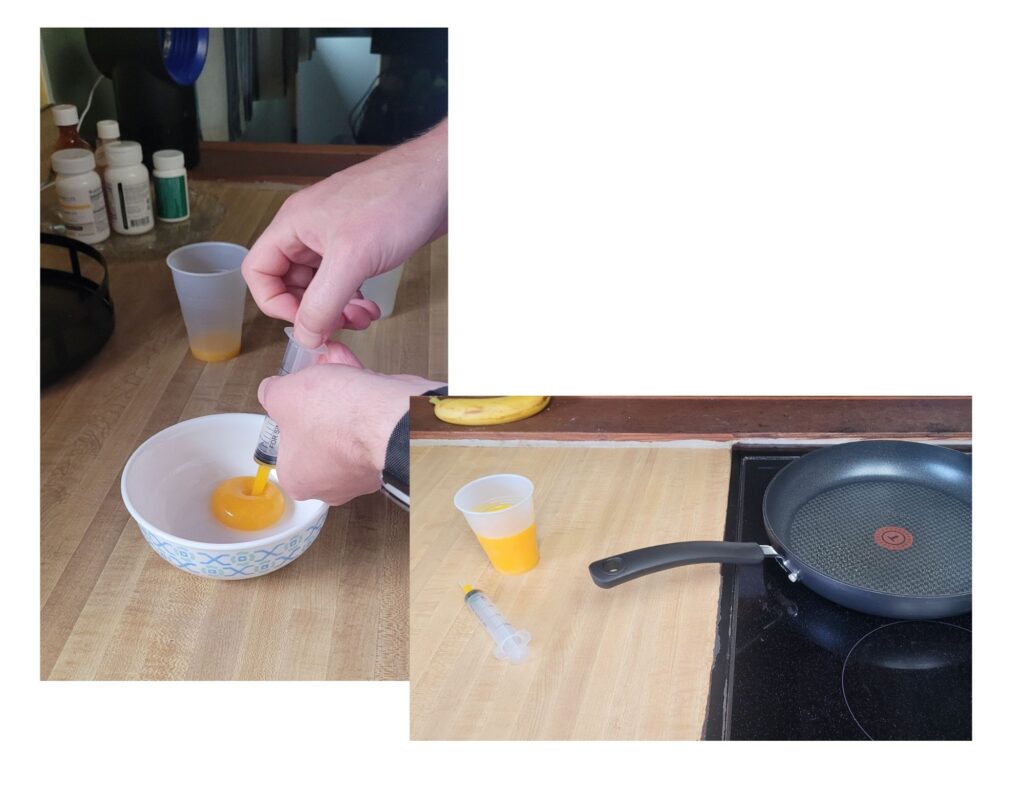
Now we move to the second half of the process. We oil and heat a pan, and Adam is on measuring duty while I am on cooking duty. Using a syringe, Adam measures out yolk in the amount we told and we cook them, about three at a time.
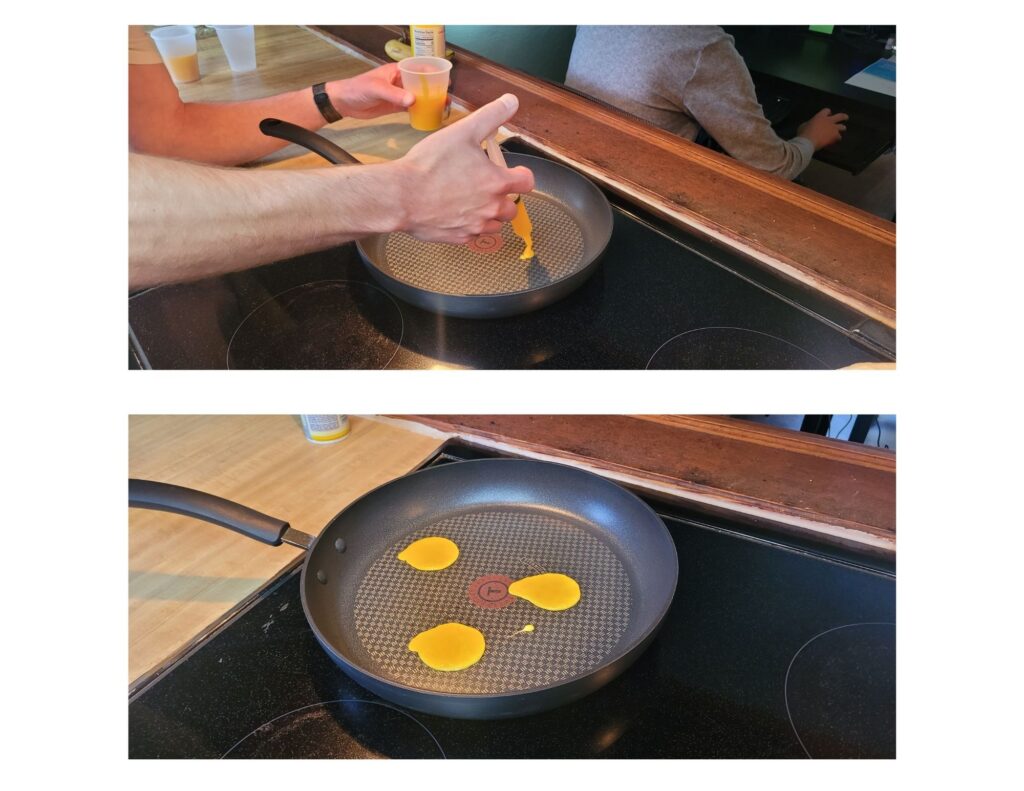
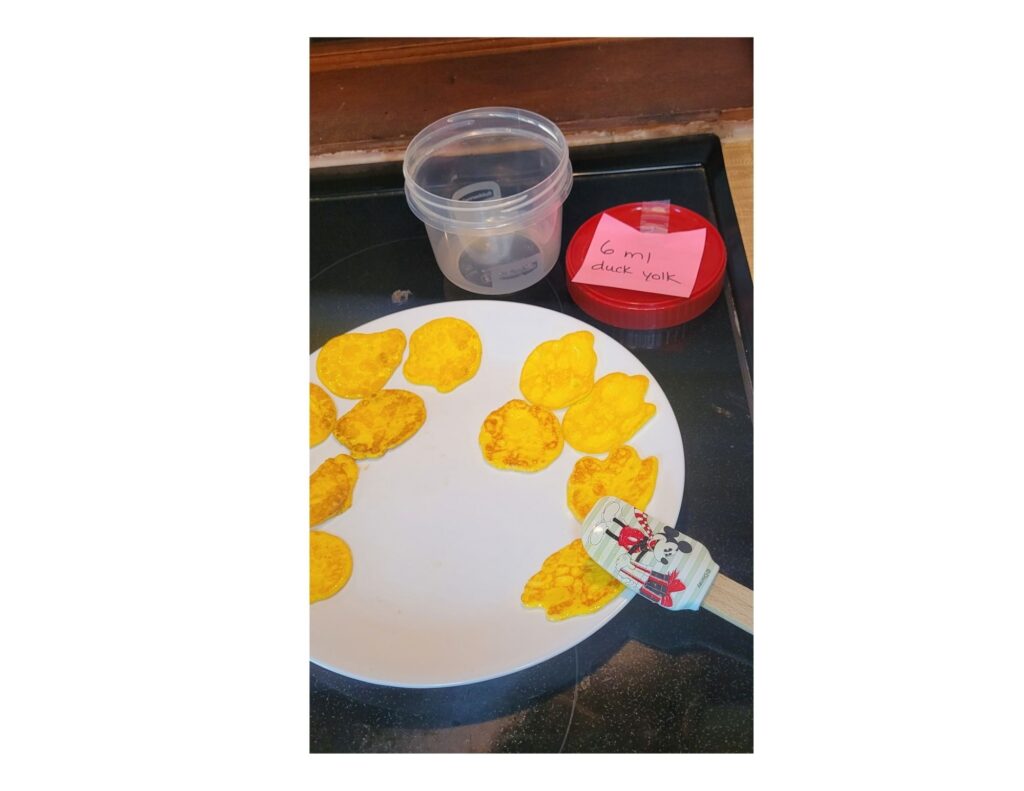
Once we are completely done, we let them cool and then store them in the freezer, pulling out about a week’s worth at a time as we go.
Did you know that you can be allergic to just the yolk of an egg or just the white? The proteins are different, which means they will be dosed and treated as two separate foods. Unfortunately, Eli is allergic to both components.
We know we will have to return to quail eggs when we circle back around to egg whites. At least we have an idea of what we’re in for!